Remote Access to Node-RED on Raspberry Pi using Dataplicity (works on RPI OS 64-bit)

In the world of IoT and automation, Node-RED has become a powerful tool for building workflows and applications. Whether you’re building an IoT project or exploring the many possibilities of Raspberry Pi, having remote access to your Node-RED setup can significantly improve your workflow. In this guide, we’ll show you how to set up remote access to Node-RED on a Raspberry Pi 4 using Dataplicity. This simple yet powerful solution allows you to access and manage your Node-RED instance from anywhere in the world, all while maintaining secure access.
Step 1: Set Up Your Raspberry Pi
Before diving into Dataplicity and Node-RED, let’s make sure your Raspberry Pi 4 is ready.
Prepare the Raspberry Pi
Ensure that your Raspberry Pi 4 is powered on and connected to your network via Wi-Fi or Ethernet.
Update Your System Packages
To ensure everything is up to date, run the following command:
sudo apt update && sudo apt upgrade -yStep 2: Install Dataplicity
Dataplicity is a remote access service that allows you to connect to your Raspberry Pi via a secure web interface, which is perfect for managing Node-RED remotely.
Sign Up on Dataplicity
Head over to the Dataplicity website and create an account.

Install the Dataplicity Client
Once you’ve logged in to your Dataplicity account, you’ll receive a unique installation command.
Copy the Installation Command
Copy the command provided on your Dataplicity dashboard.
Run the Installation Command
Run the following command on your Raspberry Pi terminal to install the Dataplicity client:
curl -s https://www.dataplicity.com/your-unique-token.py | sudo pythonVerify Installation
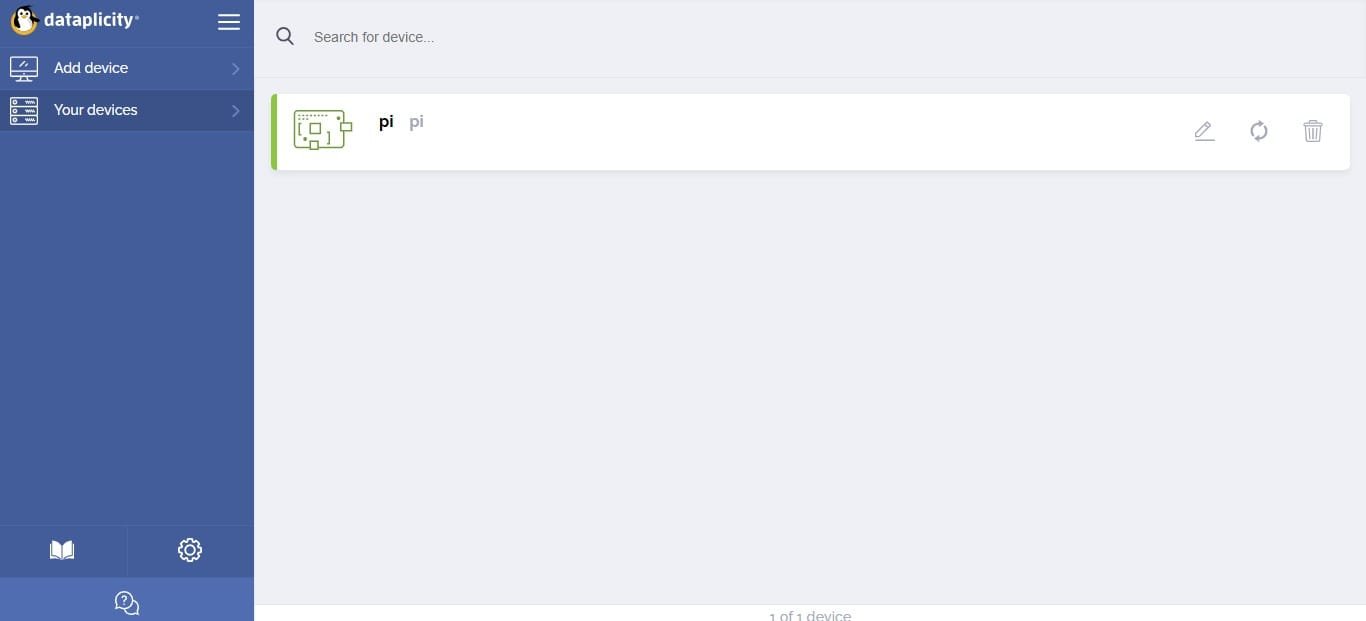
After installing the Dataplicity client, your Raspberry Pi will appear in your Dataplicity dashboard.
Test the Connection
You can test the connection by clicking on the Wormhole feature, which provides terminal access to your Raspberry Pi.
Step 3: Install and Configure the Web Server
To serve Node-RED remotely via Dataplicity, you’ll need a web server. We’ll use Nginx for this purpose.
Install Nginx
Install the Nginx web server with the following command:
sudo apt install -y nginxConfigure the Web Server
Edit the Nginx configuration to create a proxy for Node-RED:
Open the Nginx configuration file:
sudo nano /etc/nginx/sites-enabled/defaultInside the server block, add the following lines to proxy requests to Node-RED:
location / {
    proxy_pass http://localhost:1880;
    proxy_set_header Host $host;
    proxy_set_header X-Real-IP $remote_addr;
    proxy_set_header X-Forwarded-For $proxy_add_x_forwarded_for;
}
Save and exit (Ctrl+O, Enter, Ctrl+X).
Restart Nginx
To apply the changes, restart Nginx with the following command:
sudo systemctl restart nginxStep 4: Install Node-RED
Node-RED is the backbone of your automation projects, and we’ll install it now.
Run the Installation Command
To install Node-RED, run the following command:
bash <(curl -sL https://raw.githubusercontent.com/node-red/linux-installers/master/deb/update-nodejs-and-nodered)Enable Node-RED to Start on Boot
To make sure Node-RED starts automatically on boot, run:
sudo systemctl enable nodered.serviceStart Node-RED
Launch Node-RED with the command:
node-red-startAccess Node-RED Locally
You can access Node-RED locally by navigating to:
http://pi-local-ip-address:1880 Step 5: Access Node-RED Remotely via Dataplicity
Now that everything is set up, let’s access Node-RED remotely using Dataplicity.
Enable the Wormhole
In your Dataplicity dashboard, enable the Wormhole feature. This will provide you with a URL to access your Raspberry Pi remotely.
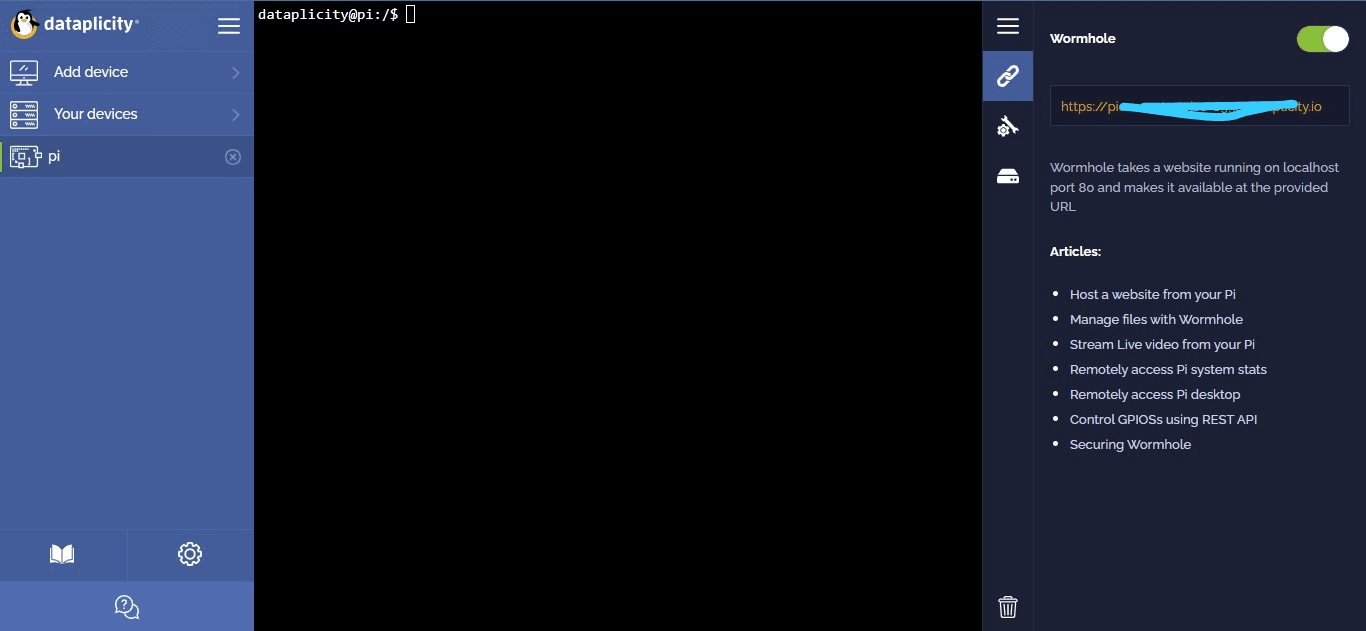
Access Node-RED
Use the Wormhole URL provided in your Dataplicity dashboard to access Node-RED remotely. The URL should look something like this:
https://<your-dataplicity-subdomain>.dataplicity.io/ui
With Dataplicity and Node-RED set up, you can now manage your IoT projects remotely with ease. Whether you’re a hobbyist or a professional, this setup simplifies the management and monitoring of your Raspberry Pi applications. Happy tinkering!